The following tips were original sent out as emails and from the response we received we thought it would be a valuable resource for anyone interested in taking their first steps into the world of Remixing, this is the ultimate beginners guide.
The Remix is an opportunity to reimagine the song and take it in a whole other direction and potentially reach a whole new demographic and expose an artist to a brand new fanbase which may have been missed.
In this article we are going to show you the basic process of remixing a song in Studio One but the principals are the same for any DAW.
Remix Basics Part 1
TIP 1
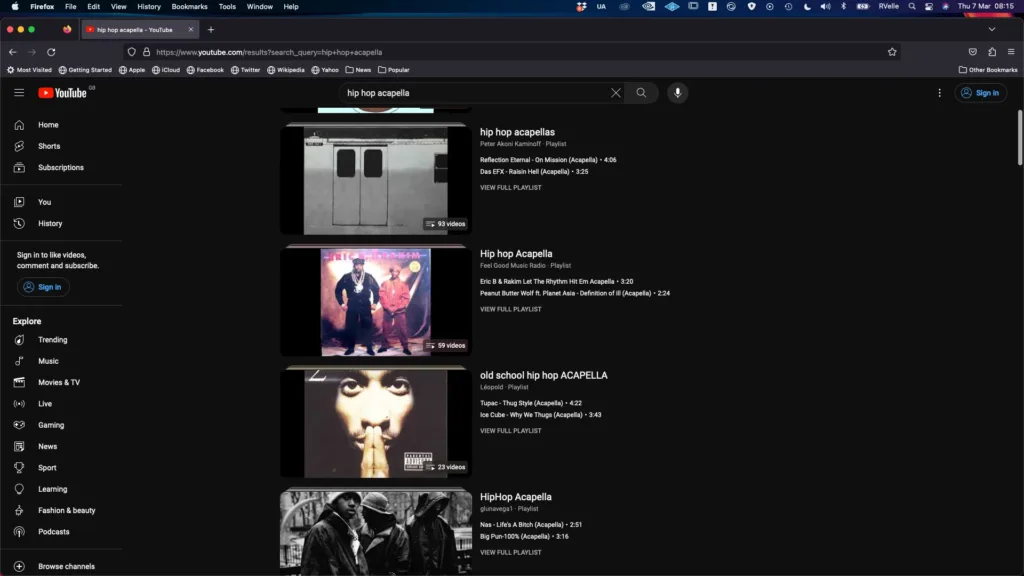
The first thing that we need to do is source some Acapellas, Youtube is a great resource for all types of Acapellas, try and get studio grade vocals if possible rather than the D.I.Y type as the quality on those tend to be very poor and from experience are more challenging to mix and don’t sit well with your music, however if your only using the Acapella as a reference feel free to use whatever gets your creative juices flowing.

Once you’ve gotten the Acapella that you want to use you’re going to have to find the Key and Tempo of it. I use Tunebat.com for this as it’s a very reliable source and when I cross reference with other platforms they always have the same result.

Remix Basics Part 2
TIP 2
Now that we’ve got our Acapella we need to import it into our Digital Audio Workstation (DAW), I personally use Presonus Studio One but the principal is the same for any DAW, In Studio One it’s just a matter of dragging and dropping the audio file onto the timeline in the arrange window, we also need to import the

full version of the song into the session (I found this technique helps in lining up the Acapella flawlessly onto the grid and in time). We already know what the tempo is so input that into the session and so now we just need to line the kick/sanre drum up onto the grid (have the metronome on as a aural guide).

Remix Basics Part 3
TIP 3
Now that the full version is lined up and in sync with the session we need to line the vocals up with the full mix version of the song. This gets easier with experience but begin by finding the start of the Acapella and line that up with the start of the vocal in the full mix (see below)

When you play the two files together there will be no phasing and they will sound as one just an increase in volume. We can now mute the full mix as we have now successful imported our vocal and locked it to our session tempo.
Please note when you add your own drums on the odd occasion you may have to nudge the vocals forward or backwards for them to fit in the pocket and feel right to your ear, your ears will always be the deciding factor regardless of how things look on the grid as its all about feel.
The more you use these techniques the quicker you’ll attain the ear that you’ll require to create a great feeling remix.
Remix Basics Part 4
TIP 4
Now this is where the fun really begins, we have our vocal in time so now we can get creative as the technical part has been completed but before we do we need to add Markers to the timeline, this is where all the different sections of the song are highlighted and is key for arranging and structuring your songs.
So once the song has been marked out you can get to it and start creating your next MASTERPIECE.
The previous four tips have given you a very brief overview of getting a remix project started.

We are working on a full course which will go fully into depth on this process, if that’s something that you would be interested in, sign up to the course interest email and let us know that it’s something that would be of value to you.
Yours Thankfully
- RVelle Of DigitalRockstarz


